samedi 28 juillet 2012

Staghound Mk.I - Brigade Piron (1st Belgian Brigade)

Hello everyone,

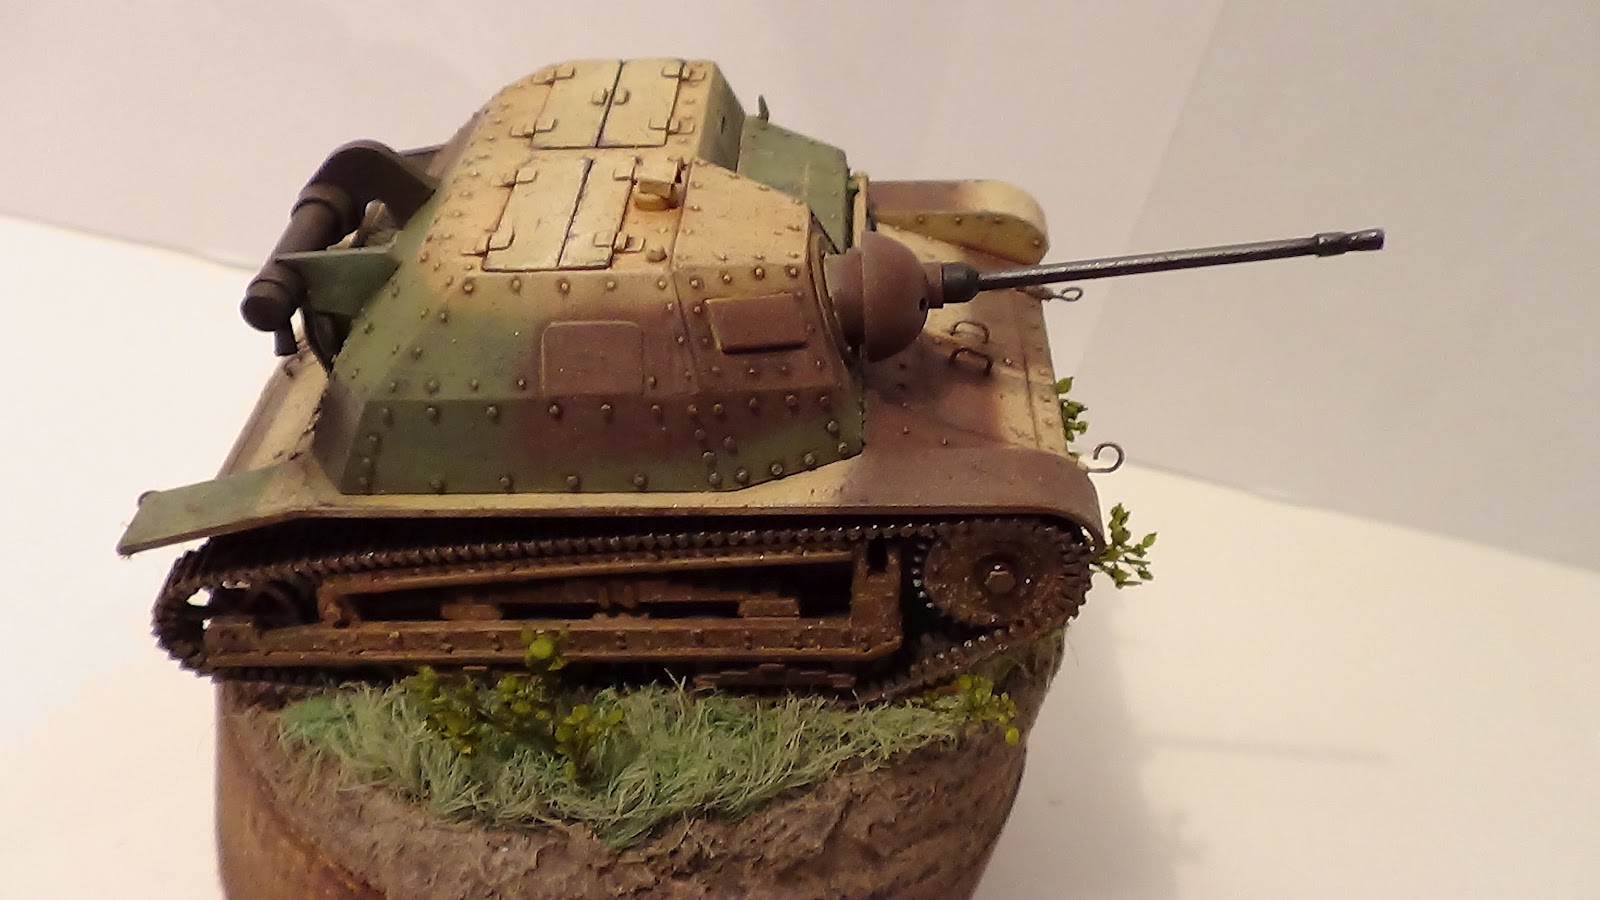
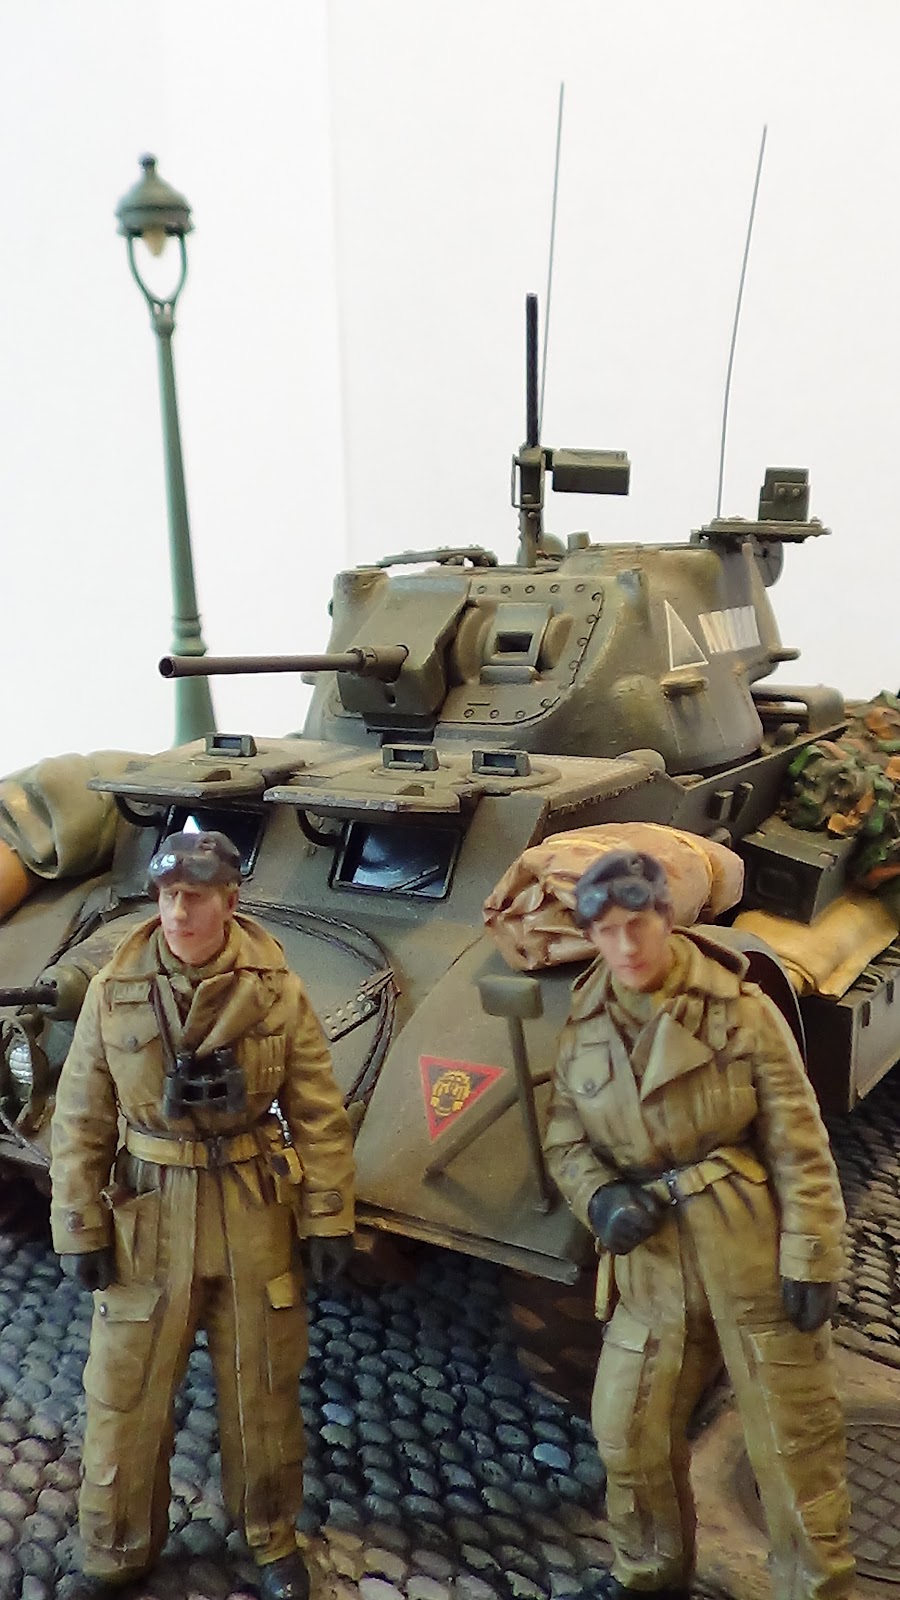
This is the last project I just finished: a Staghound Mk. I from the 1st Belgian Brigade (Brigade Piron). This is the Italeri kit with resin stowage and smoke dischargers from Resicast. The figures are from Alpine and the street accessories from Miniart excepted the street lamp which comes from a really old Tamiya set. The pavement and the paved road are scratchbuilt following the technique described in Art of Modelling n°19.
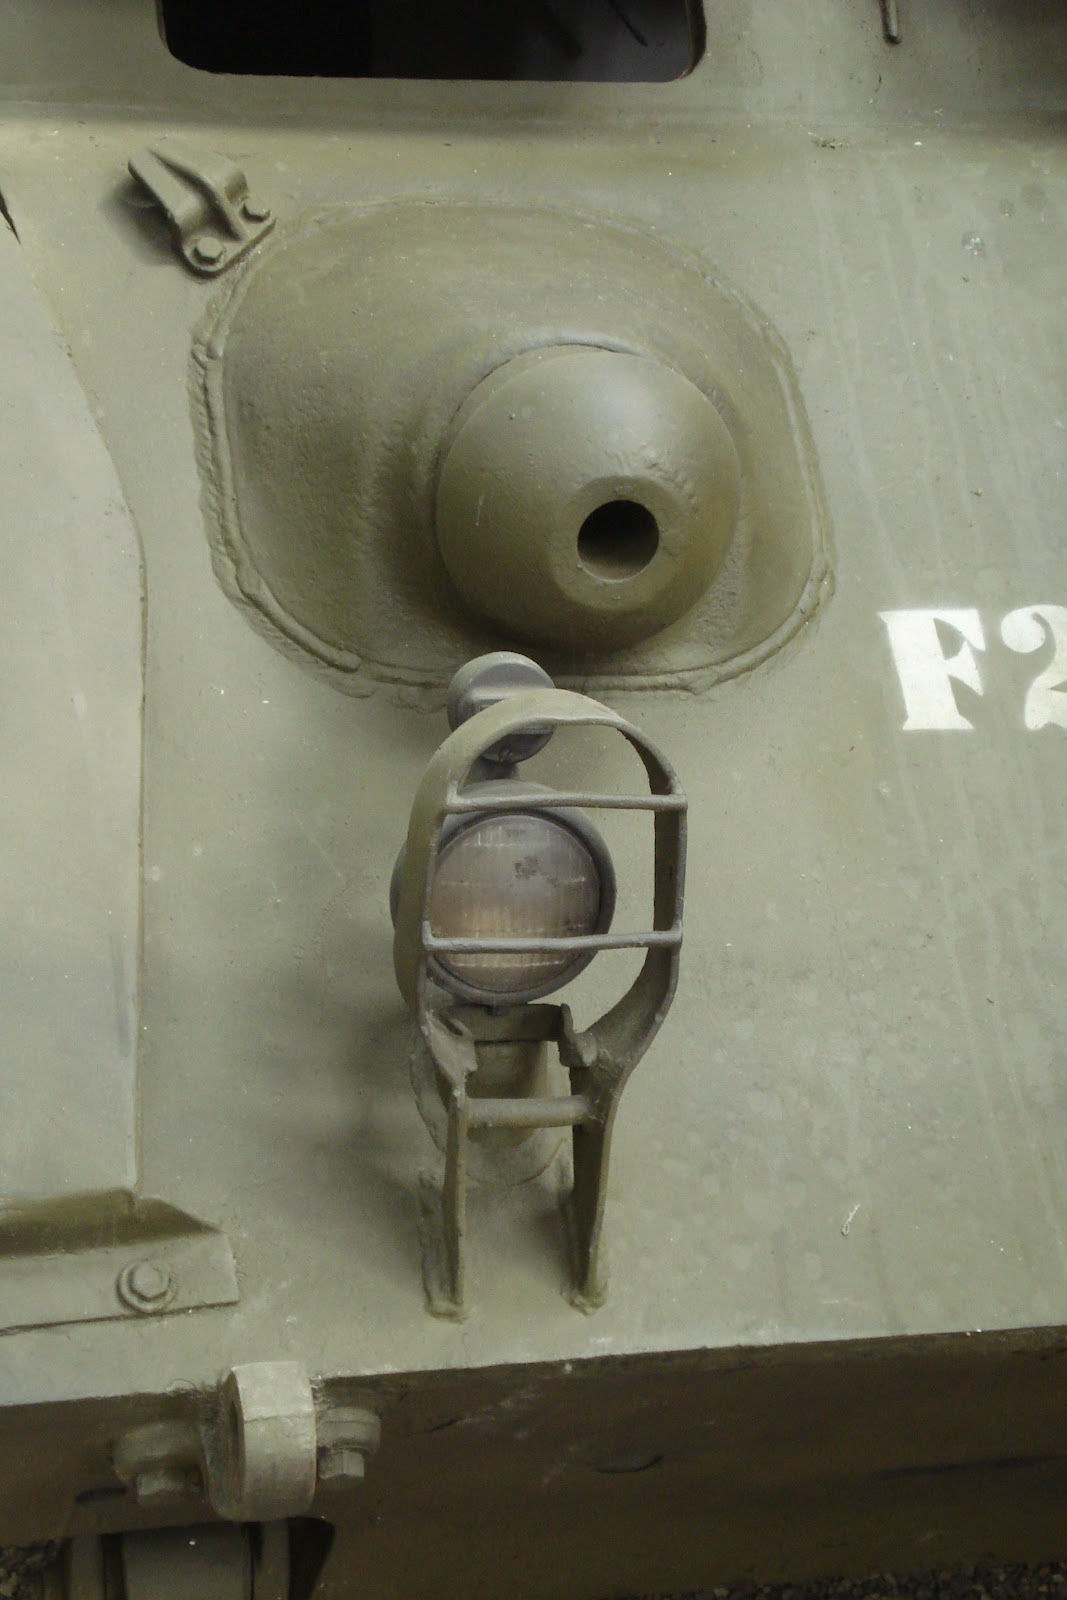
This particular Staghound (F215464) was the only Staghound that the Brigade possessed when they landed in Normandy on the 8th of August 1944 (along with 2 Staghound AA) and was used as a communication vehicule, this resulting in a factice gun in order to have more space in the turret to fit the radios. Most of the other armoured cars were Daimlers and Scout Cars. 
The scene depicted here was inspired by a picture that was taken on the 4th of September 1944 during the liberation of Brussels and that I saw on the official website of the Brigade Piron (http://www.brigade-piron.be). This website is really worth a visit and you can find a lot of information (and pictures) about the history, the organisation, the campaigns, the men and equipment of the 1st Belgian Brigade. The webmaster of this site, Jean-Louis Marichal, is the grandson of a veteran of the Brigade and made this site to pay a tribute to these men. 
Before going on to the pictures, I wish to thank M. Jean-Louis Marichal and the volunteer workers from the "Musée Royal de l'Armée" in Brussels who provided me pictures and precious informations that helped me in the realisation of this project. As you can realise, it is harder to find information about the armoured vehicules of the 1st Belgian Brigade than about Shermans or Panzers in Normandy... I wonder why  ; )

I hope you'll enjoy these pics!


Happy modelling!


dimanche 22 juillet 2012

Reference pics: Staghound

Since the next project to be published is a Staghound, here are already some pictures I took in the "Musée Royal de l'Armée in Brussels" (now almost all of the vehicles were moved to Bastogne Barracks in the Ardennes) and in the "Freedom Museum" in Ramskapelle near Knokke Heist at the Belgian coast. Actually if you visit Belgium I strongly recommend you to visit these places.
Maybe thes pics will also help you in a future project. Enjoy!


samedi 14 juillet 2012

TKS WITH 20 MM GUN (finished)

I call this one finished! I hope you like this tiny Polish tank hunter. Don't hesitate to leave comments, questions or constructive criticisms. These are always welcome!!!! 

Here's the final result after the last weathering step.


First a thin layer of dust has been airbrushed on the model (Tamiya's flat earth XF 52 and buff XF 57)


Then I used the fallowing materials to finish the weathering: Mig pigments, Mig oil and grease stain mixture, Vallejo's sandy paste, sand, water, Winsor & Newton Burnt Sienna, Vallejo's Still Water (to simulate the glass of the rear light), a normal pencil and a silver pencil.


Some more pics of the finished model:


Here's a last pic of the model in the palm of my hand to show you how small this 1/35th tankhunter really is:


Next subject is going to be published very soon... please stay tuned!

HAPPY MODELLING!
TISH


lundi 9 juillet 2012

How to make grass in 1/35th scale?

Hello everyone,

Since the project I'm working on now requires some grass on its base I decided to share with you step by step the method I use to simulate it. The advantages of this method are the following: it is cheap, you can choose the length and the color of the grass that you wish and it only needs some basic tools that most modellers already own. The big disadvantage is that it is a REALLY time consuming method... so if you want to make a lot of grass be prepared to spend some hours on this...


This first pic shows you the final result and the following pics are a step by step guide to achieve this.


These are all the tools and materials that you need: white glue, rope, acrylic paint, pigments, water, an old brush, a thin brush, a drilling tool (+ eventually a pointy tool) and tweezers.


Take a piece of rope and make knots in it.


Take the rope behind a knot.


Comb the rope with a pointy tool or with your tweezers so that you get a lot of tiny filaments.


Cut the rope behind every knot and paint every piece of it with diluted acrylic paint.


Dry all the pieces on kitchen paper in order to reach a variation in the color used thanks to absorption of various amount of paint by the kitchen paper.


Once dried, comb the pieces again with a pointy tool.


Drill little holes in the base (which I often make from isolation foam on which I spread a mixture af sand, paint, pigments, water and wall filler).


With a thin brush pour a mixture of water, white glue and pigments in the little holes. Then, with your tweezers, press the pieces of grass in the base. Once in place, add eventually a bit more of the white glue mixture mentionned hereabove.


Here is the result once the whole base is covered with grass.


To add more variation in the color of the grass, spray some color with an airbrush. I used some buff here to simulate the kind of grass that you can see around september in Europe.


I also drilled holes in the base and used the white glue mixture to fix some more vegetation from Joefix Studio. This base will be used for the TKS that is undergoing the last step of weathering and which is almost finished.


I hope you enjoyed this step by step guide and wish it can eventually help you for the realisation of one of your projects.

Happy modelling!